Achieving the perfect riding position on your bike is essential for comfort, control, and overall enjoyment. However, many cyclists find themselves hunched over with back and neck strain due to low-set handlebars.
The good news is that raising your bike’s handlebars can be a simple solution to alleviate these issues.
In this comprehensive guide, we’ll explore why you might want to make this adjustment and provide you with step-by-step instructions on how to raise the handlebars on both road and mountain bikes effectively.
Reasons to Raise Handlebars On Our Bike
While a more aggressive riding position can benefit aerodynamics for competitive cyclists, most recreational riders will appreciate the advantages of raising their handlebars:
- Improve Comfort and Riding Posture: With higher handlebars, you can sit more upright, reducing stress on your back, neck, and shoulders. This relaxed posture makes longer rides much more comfortable and enjoyable.
- Reduce Back/Neck Strain: Lower handlebars force you to lean forward excessively, straining your spine’s natural curvature. Raising the handlebars helps align your back properly, minimizing the risk of discomfort or injury.
- Better Control and Handling: An upright position gives you better control by putting your weight squarely on the bike. This improved weight distribution enhances handling, especially at lower speeds or in technical terrain.
- Account for Height Differences: If you’re taller than average, raising the handlebars could be necessary for a proper fit on stock bikes designed for shorter riders. Proper bike fit is crucial for comfort and efficiency.
What Are the Handlebar Components On A Bike?

Before delving into the adjustment methods, let’s quickly review the key components that control the positioning of your handlebars:
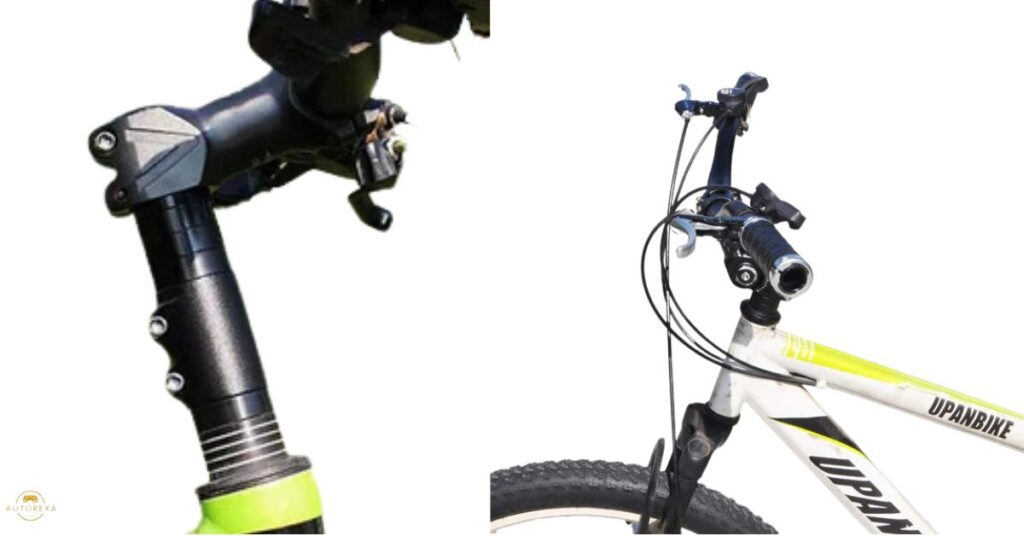
The Stem
The stem is the component that clamps onto the steerer tube (the fork’s elongated cylinder) and holds the handlebars, controlling their height and angle. It acts as the connection point between the handlebars and the rest of the bike.
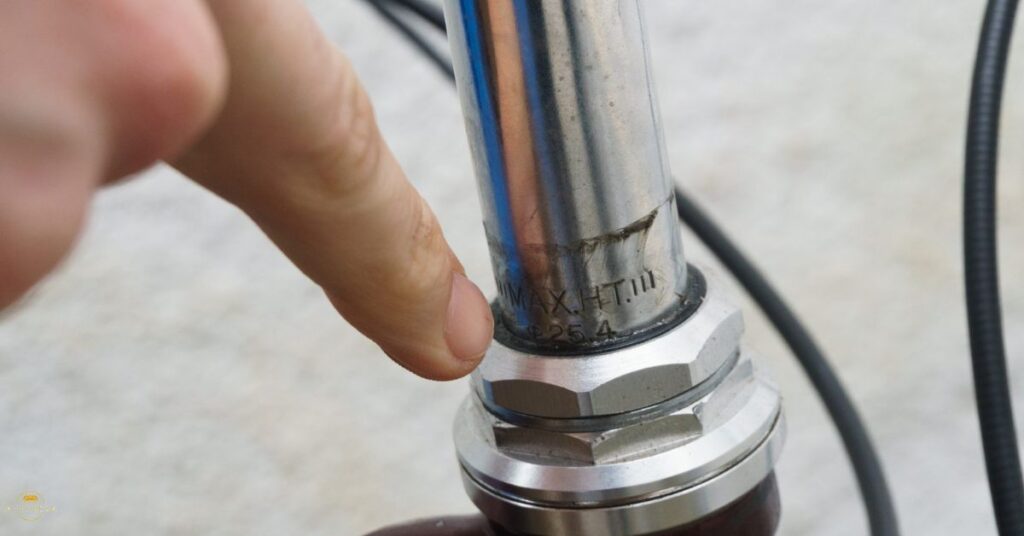
Spacers
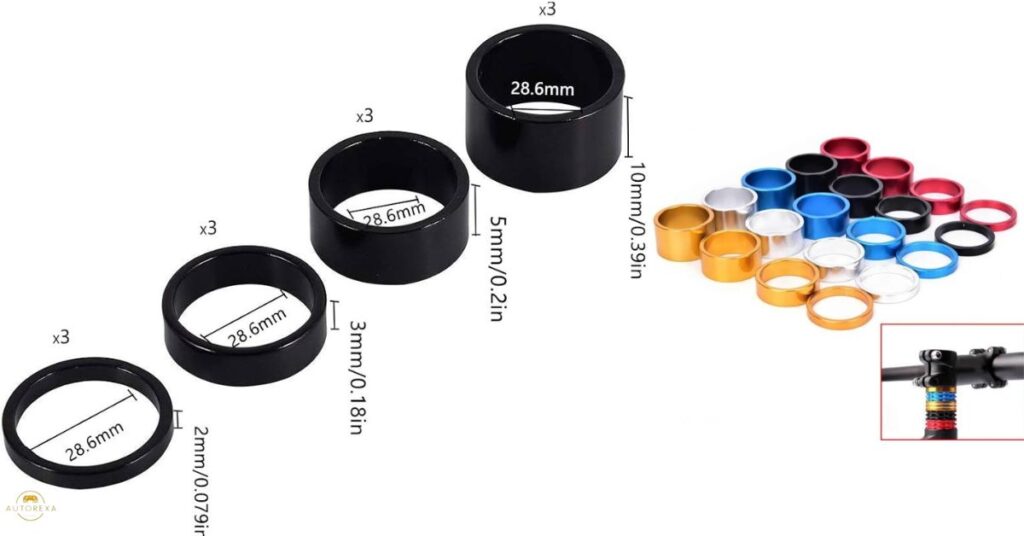
Spacers are simple cylindrical pieces that fit over the steerer tube between the stem and the frame’s headset. They allow you to adjust the stem’s height by adding or removing these spacers.
Faceplate
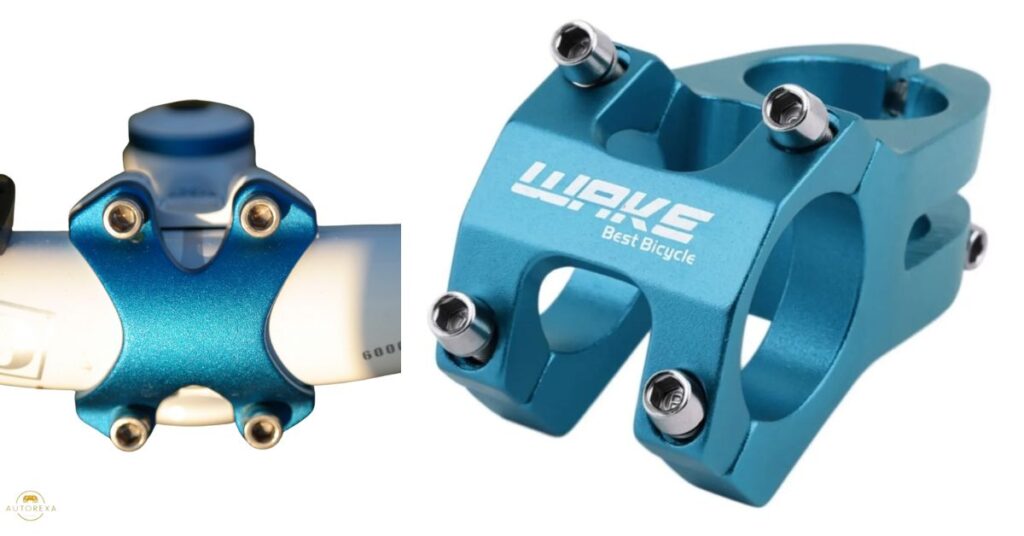
The faceplate is the removable portion of the stem that clamps around the handlebars, securing them in place at the desired angle and height. It typically features pinch bolts for tightening the clamp.
Headset
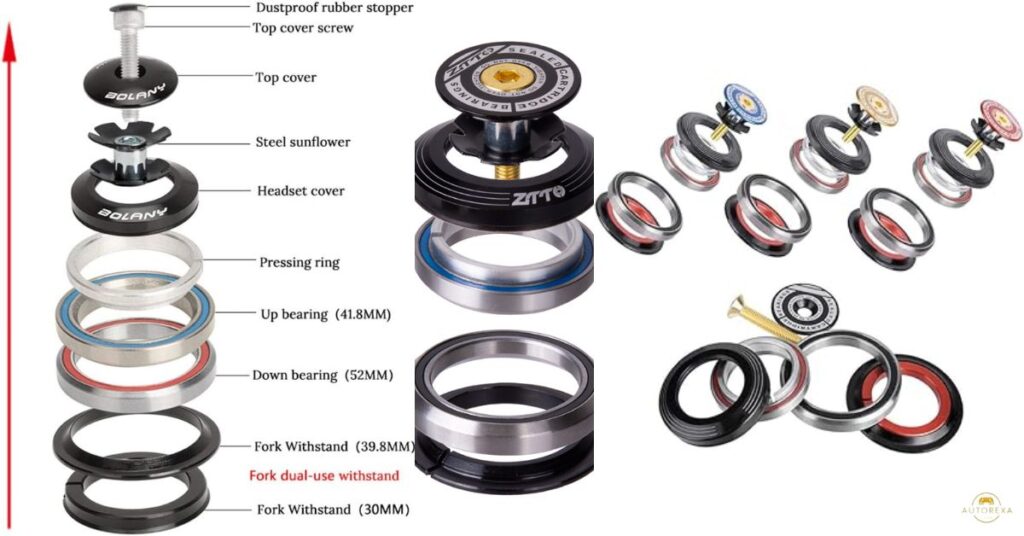
The headset is a crucial component that bears the weight of the fork and allows smooth steering. Its parts fit inside the head tube of the bike frame and provide a bearing surface for the fork steerer tube to rotate within.
Pinch Bolts
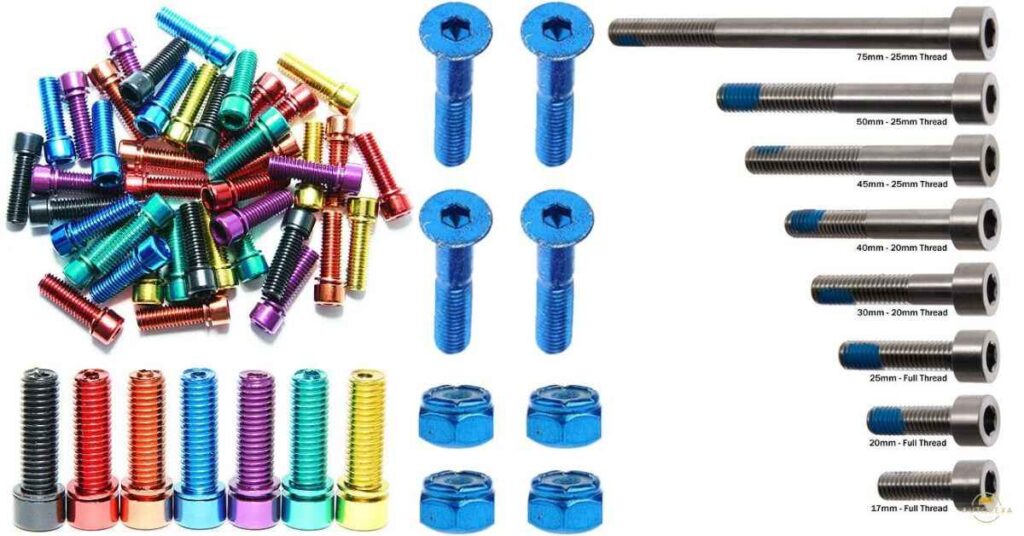
Pinch bolts, also known as stem bolts or faceplate bolts, are the bolts on the stem’s faceplate that clamp down firmly to hold the handlebars at the desired angle and height. Proper tightening of these bolts is essential for secure handlebar positioning.
Related Post: How Long Does It Take to Bike 30 Miles? A Comprehensive Guide
6 Options to Raise the Bike Handlebars Explained
Now that we’ve covered the basics, let’s dive into six effective methods for raising your bike’s handlebars:
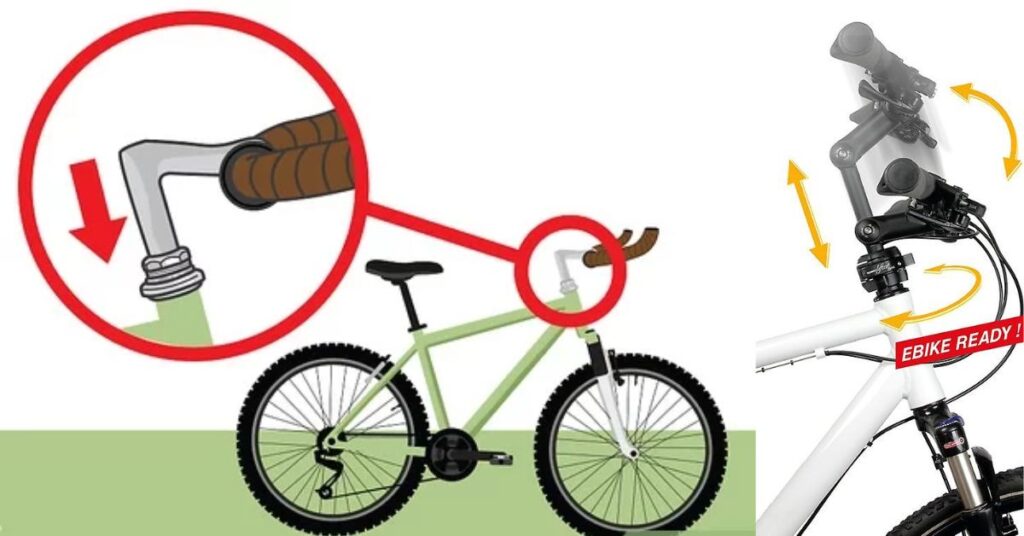
1. Adjust the Headset Spacers
One of the simplest approaches is rearranging the headset spacers above and below the stem. This method involves moving the spacers from below the stem to above it, effectively raising the stem and handlebars up the steerer tube.
Pros:
- Easy to do with basic tools like a multi-tool or hex wrenches.
- Reversible if needed, as you can move the spacers back to their original position.
- Doesn’t require purchasing new components, making it a cost-effective solution.
Cons:
- Limited adjustment range, as there is a maximum number of spacers you can stack above the stem.
- Can potentially affect steering if too many spacers are added above the stem, leading to increased fork steerer tube length.
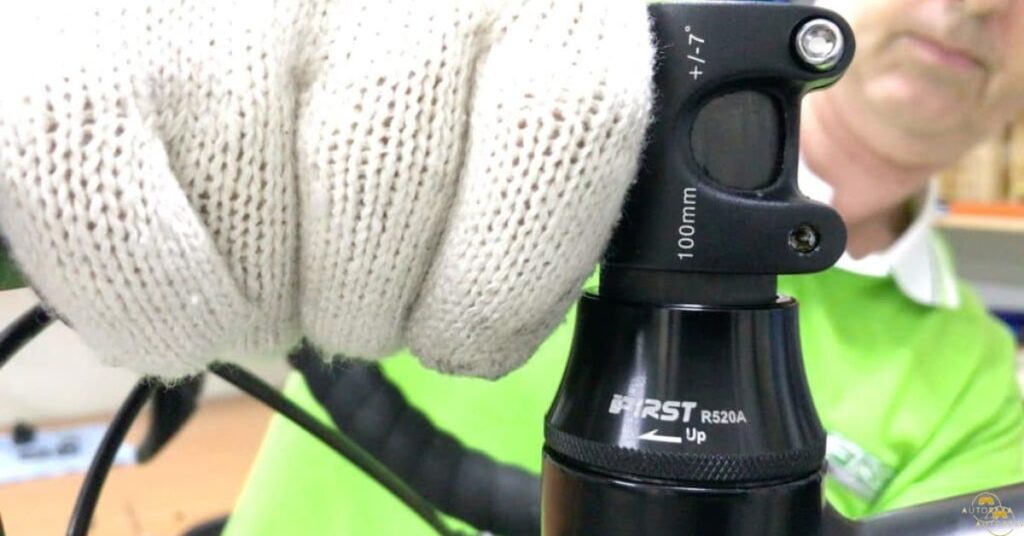
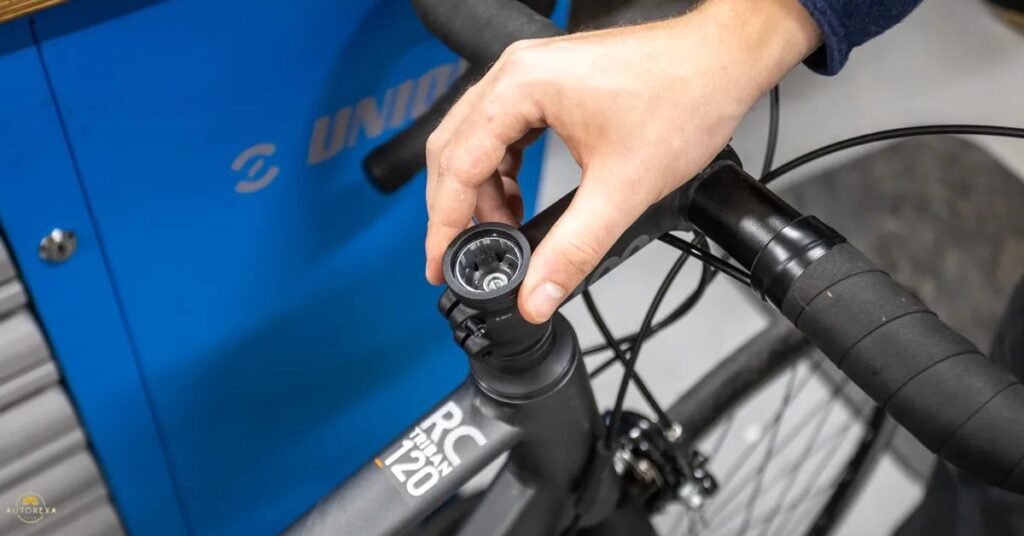
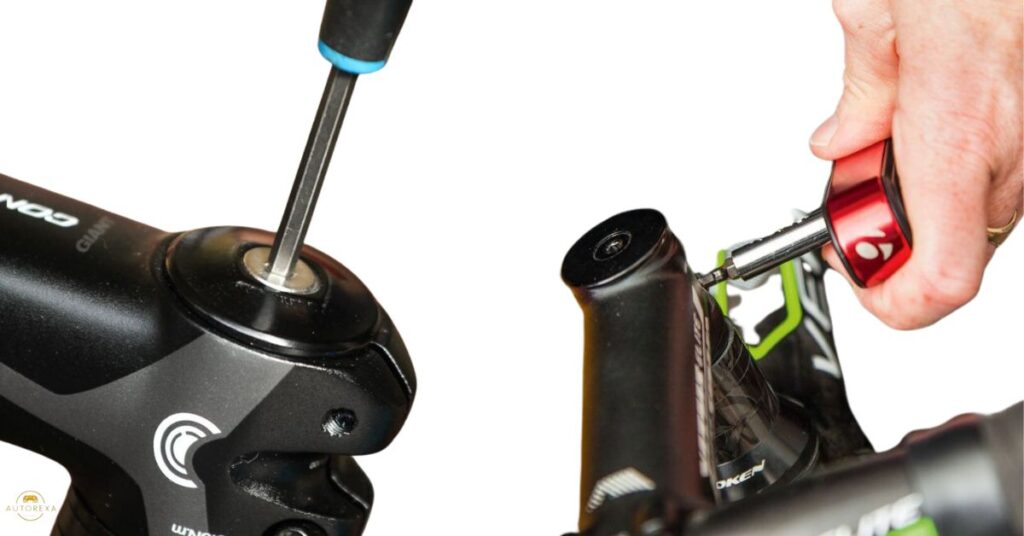
2. Flip the Bike Stem
Many modern stems are designed to be “flipped” – installed at a 180-degree rotation to gain some extra rise height. This method involves loosening the bolts that secure the stem to the steerer tube, flipping the stem over, and then re-tightening the bolts.
Pros:
- Very quick and easy adjustment that doesn’t require purchasing any new components.
- Reversible if needed, as you can simply flip the stem back to its original orientation.
Cons:
- Only gains 1-2 inches of rise at most, depending on the stem design.
- Can impact the bike’s steering geometry slightly, as the stem’s angle is altered.
- Not possible on some stem designs that are not intended to be flipped.
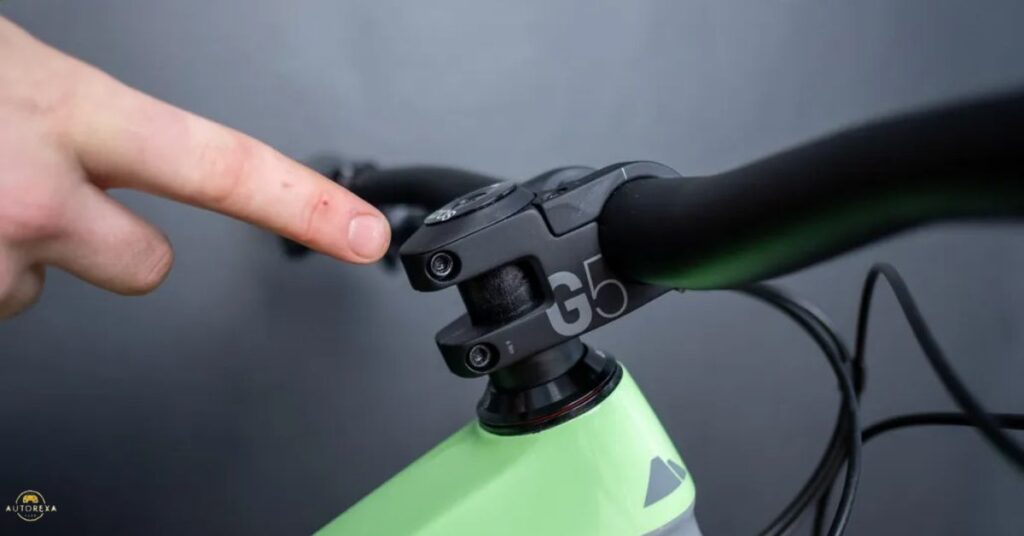
3. Change the Bike Stem
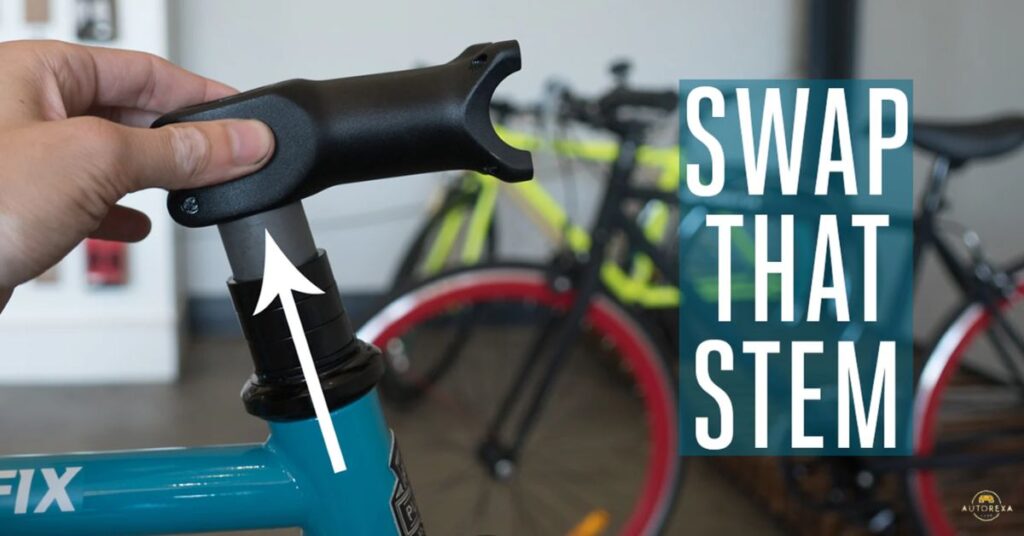
If your current stem doesn’t offer enough rise or the ability to be flipped, you can replace it with a new stem designed for more upward rise from the steerer tube.
Pros:
- Allows for a greater rise in handlebar height than your stock stem.
- Many adjustable angle options available to fine-tune the handlebar position.
- Preserves your existing handlebar, so you don’t need to replace it.
Cons:
- Requires purchasing a new stem, which can be an additional expense.
- Necessitates transferring controls (brake levers, shifters) and adjusting cables to fit the new stem.
- May require changing the stem length as well, depending on your desired reach and riding position.
4. Adjust the Handlebar Angle
For threadless stems (the most common type on modern bikes), you can change the handlebar’s tilt angle by loosening the faceplate and rotating the bar itself up or down before re-tightening.
Pros:
- Quick adjustment that doesn’t require purchasing any new components.
- Can provide a slight rise in handlebar height without changing the stem.
Cons:
- Limited tilt range before the handlebar strikes the frame or other components.
- Doesn’t raise the bar height significantly, so it may not be sufficient for those seeking a more substantial change.
- Can impact the angle of brake and shift levers, potentially affecting control and ergonomics.
5. Invest in a Bike Stem Riser
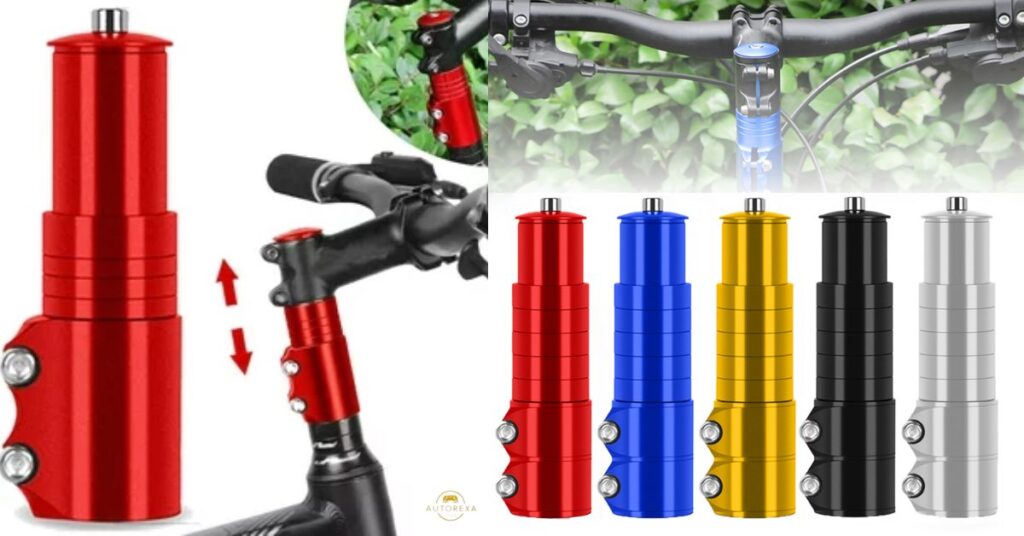
Stem risers, also known as stem extenders or stem raisers, are separate components that install between the stem and the steerer tube, effectively lifting the stem and handlebars higher.
Pros:
- Simple way to gain a significant rise in handlebar height without replacing the entire stem.
- Available in various rise amounts, typically ranging from 1 to 4 inches, to suit your preferences.
- Relatively inexpensive compared to purchasing a new stem.
Cons:
- Adds another component to install, which can potentially complicate the setup process.
- Raises both the stem and handlebar height together, which may not be ideal for everyone’s desired riding position.
- Too much rise can impact steering by increasing the fork steerer tube length, potentially leading to wheel wobble or instability.
6. Invest in a Riser Handlebar
Finally, you can replace your current handlebar with a “riser bar” – handlebars that curve upwards, giving you significantly more rise at the grip positions.
Pros:
- Dramatic rise heights available, often ranging from 2 to 6 inches or more.
- Many shapes, widths, and sweep angles to choose from to suit your riding style and preferences.
- Can improve comfort and control by positioning your hands in a more natural, upright position.
Cons:
- Requires purchasing a new handlebar, which can be more expensive than other options.
- Necessitates transferring grips, brake levers, shifters, and other controls from your old handlebar to the new one.
- May require re-routing brake and shift cables, depending on the rise height and handlebar shape.
With these six methods explained, you can weigh the pros and cons to determine the best approach for your bike, budget, and desired rise amount. Keep in mind that some methods may work better for certain bike types (e.g., road or mountain bikes) or handlebar configurations.
How to Raise A Road Bike’s Handlebars

For road bikes with threadless headset and stem systems (the most common setup on modern road bikes), the process of raising the handlebars involves the following steps:
1. Setup
Begin by shifting your road bike into the smallest chainring and placing it on a repair stand or hanging it from a hook to work at handlebar height comfortably. Have your multi-tool, torque wrench, grease, and any new components (e.g., stem riser, new stem) ready and within reach.
2. Moving the Spacers
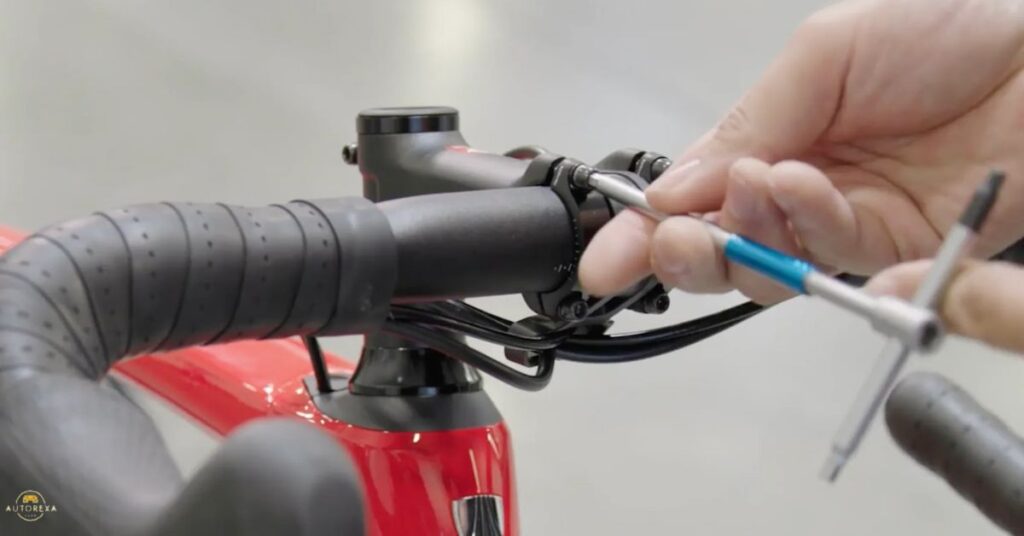
If you’re adjusting the headset spacers, start by loosening the stem’s pinch bolts and faceplate to unlock the handlebar position. Then, loosen the top cap bolt and steering tube clamps that secure the stem to the steerer tube.
Carefully move any spacers that are currently positioned above the stem to below it, effectively raising the stem’s height. You can also add additional spacers from the frame’s headset if available.
Pro Tip: Apply a thin layer of grease to the steerer tube and spacer surfaces to prevent seizing and ensure smooth future adjustments.
3. Flip the Stem
If your stem is designed to be “flip-able,” you can gain additional rise height by simply rotating it to the desired orientation (usually 180 degrees from its original position) before re-tightening the bolts.
Before flipping the stem, apply a touch of grease on the contact surfaces between the stem and steerer tube to prevent corrosion and allow for easy future adjustments.
Read More: Lime Electric Scooter Rental: A Transparent Cost Analysis
4. Adjust the Stem
If you’ve opted to install a new stem riser or an adjustable angle stem for extra rise height, follow the manufacturer’s instructions carefully. Ensure that the headset bearings are properly greased and adjusted, as an improper setup can lead to steering issues.
Once the new stem or riser is installed, you may need to re-adjust your brake and shift cables to account for the change in handlebar position. Follow the cable routing guides and ensure that the cables have enough housing length and aren’t excessively stretched or kinked.
Take your time during this process and tighten everything to the proper torque specifications using a torque wrench. This is crucial for ensuring a secure and safe handlebar setup. Double-check that your stem faceplate is solidly clamping the handlebar in place, with no wiggle or movement.
After making any adjustments, it’s a good idea to check for wheel wobble or steering issues by gently rocking the bike back and forth. If you notice any issues, revisit your stem and headset setup until the steering feels smooth and stable.
How to Raise A Mountain Bike’s Handlebars

For mountain bikes, the process of raising the handlebars can vary slightly depending on whether your bike has a threadless or threaded (quill stem) headset system.
For Threadless Headsets
Follow the same steps outlined for road bikes:
- Set up your mountain bike on a repair stand or hang it for easy access.
- If necessary, disconnect the front brake cable to allow for easier handlebar and stem adjustments.
- Loosen the stem’s pinch bolts and faceplate to unlock the handlebar position.
- Adjust the headset spacers, flip the stem, or install a new stem or riser as desired.
- Re-adjust brake and shift cables as needed, and ensure proper torque on all bolts and clamps.
For Threaded (Quill Stem) Headsets
The process is a bit more involved, as you’ll need to remove the entire stem and fork assembly:
- Disconnect the front brake cable and detach the handlebar from the stem.
- Loosen the quill stem’s expander bolt or wedge, allowing you to remove the stem from the steerer tube.
- Remove the fork from the headset, taking care not to damage the headset bearings.
- Add spacers, a stem riser, or install a new quill stem with more rise as desired.
- Re-install the fork and stem assembly, ensuring proper headset adjustment and tightening the expander bolt or wedge to the correct torque.
- Reconnect the handlebar, brake, and shift cables, adjusting as needed for the new handlebar position.
Many mountain bikers also opt for wide riser handlebars, which position the grips higher and offer a more control-friendly, upright riding position compared to traditional flat or drop bars.
Finally, don’t forget to check your suspension settings if you’ve significantly altered the handlebar height, as this can impact the bike’s geometry, sag, and travel. Adjust the fork and rear shock accordingly for optimal performance and handling.
Wrap Up
Raising your bike’s handlebars can significantly enhance your comfort, control, and overall enjoyment on the trails or roads. Whether you’re a tall rider seeking a better fit or simply want to alleviate back and neck strain, the methods outlined in this guide provide a range of solutions to suit your needs and bike type.
Remember, finding the perfect handlebar position may involve some trial and error, as everyone’s body proportions and riding preferences are unique. Don’t be afraid to experiment with different stem lengths, riser heights, or even handlebar shapes until you achieve that ideal riding position.
Most importantly, take your time during the adjustment process, and always double-check that all components are properly tightened and secured. Seeking professional assistance from a qualified bike mechanic is recommended if you’re unsure about any part of the process.
Frequently Asked Questions
Can I make my bike handlebars higher?
Yes, you can make your bike handlebars higher using various methods like adjusting headset spacers, flipping or replacing the stem, or installing stem risers or riser handlebars.
How do I raise the bar on my bike?
There are several ways to raise the bar on your bike, including moving headset spacers above the stem, flipping or changing the stem, adjusting the handlebar angle, or adding a stem riser or riser handlebar.
How do you raise the handlebars on an old road bike?
On an old road bike with a quill stem, you’ll need to remove the entire stem/fork assembly, add spacers or a riser component, then reinstall and adjust brake/shift cables.
Do all bikes have adjustable handlebars?
No, not all bikes have adjustable handlebars. Some bikes, especially older or entry-level models, may have non-adjustable handlebar setups, making it more difficult or impossible to raise the bar height.